|
|
|
Sneak Preview of a New Book Available In a few months |
|
|
||||||||||||||||||||||||||||||||
|
|
|
Wagonteamster |
|||||||
 |
|||||||
|
WAGONTEAMSTER .COM |
|||||||
|
If you feel competent enough to install your own photovoltaic system, and meet the legal requirements, this page is written to help put you on the right path for information. Note - Article 690 of the National Electric Code has specific requirements for the installation and wiring of photovoltaic system components, to include overcurrent protection and the requirements for grounding and circuit switches. For a discussion on how the NEC applies to PV systems go to this link. Disclaimer - This is not an installation manual for installing a PV system; rather, it is a general discussion on how things are done when installing a PV system. Please seek a professional if you are unsure on how to proceed. Safety As with any electrical installation, the primary consideration is safety. 1. Photovoltaic panels generate electricity as soon as they are exposed to sunlight. To prevent this from occurring while you are working with them, they must be covered with an opaque cloth. 2. If two or more panels are wired in series, they can generate a potentially lethal voltage (>50 Volts DC). 3. Always follow manufacturer’s and NEC requirements for grounding, overcurrent protection, circuit switches and mounting. 4. Batteries have unique hazards: They can generate extreme fault current that can cause an arc-flash or possibly even blow up if they are shorted. They contain sulfuric acid which can cause a severe burn. They also generate free hydrogen gas when they are charged. 5. If you have any questions about installing a system, always use a Licensed Electrician.
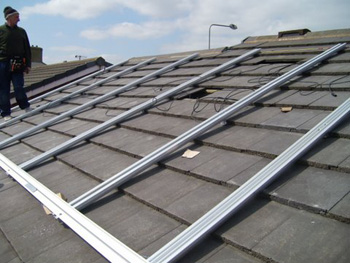
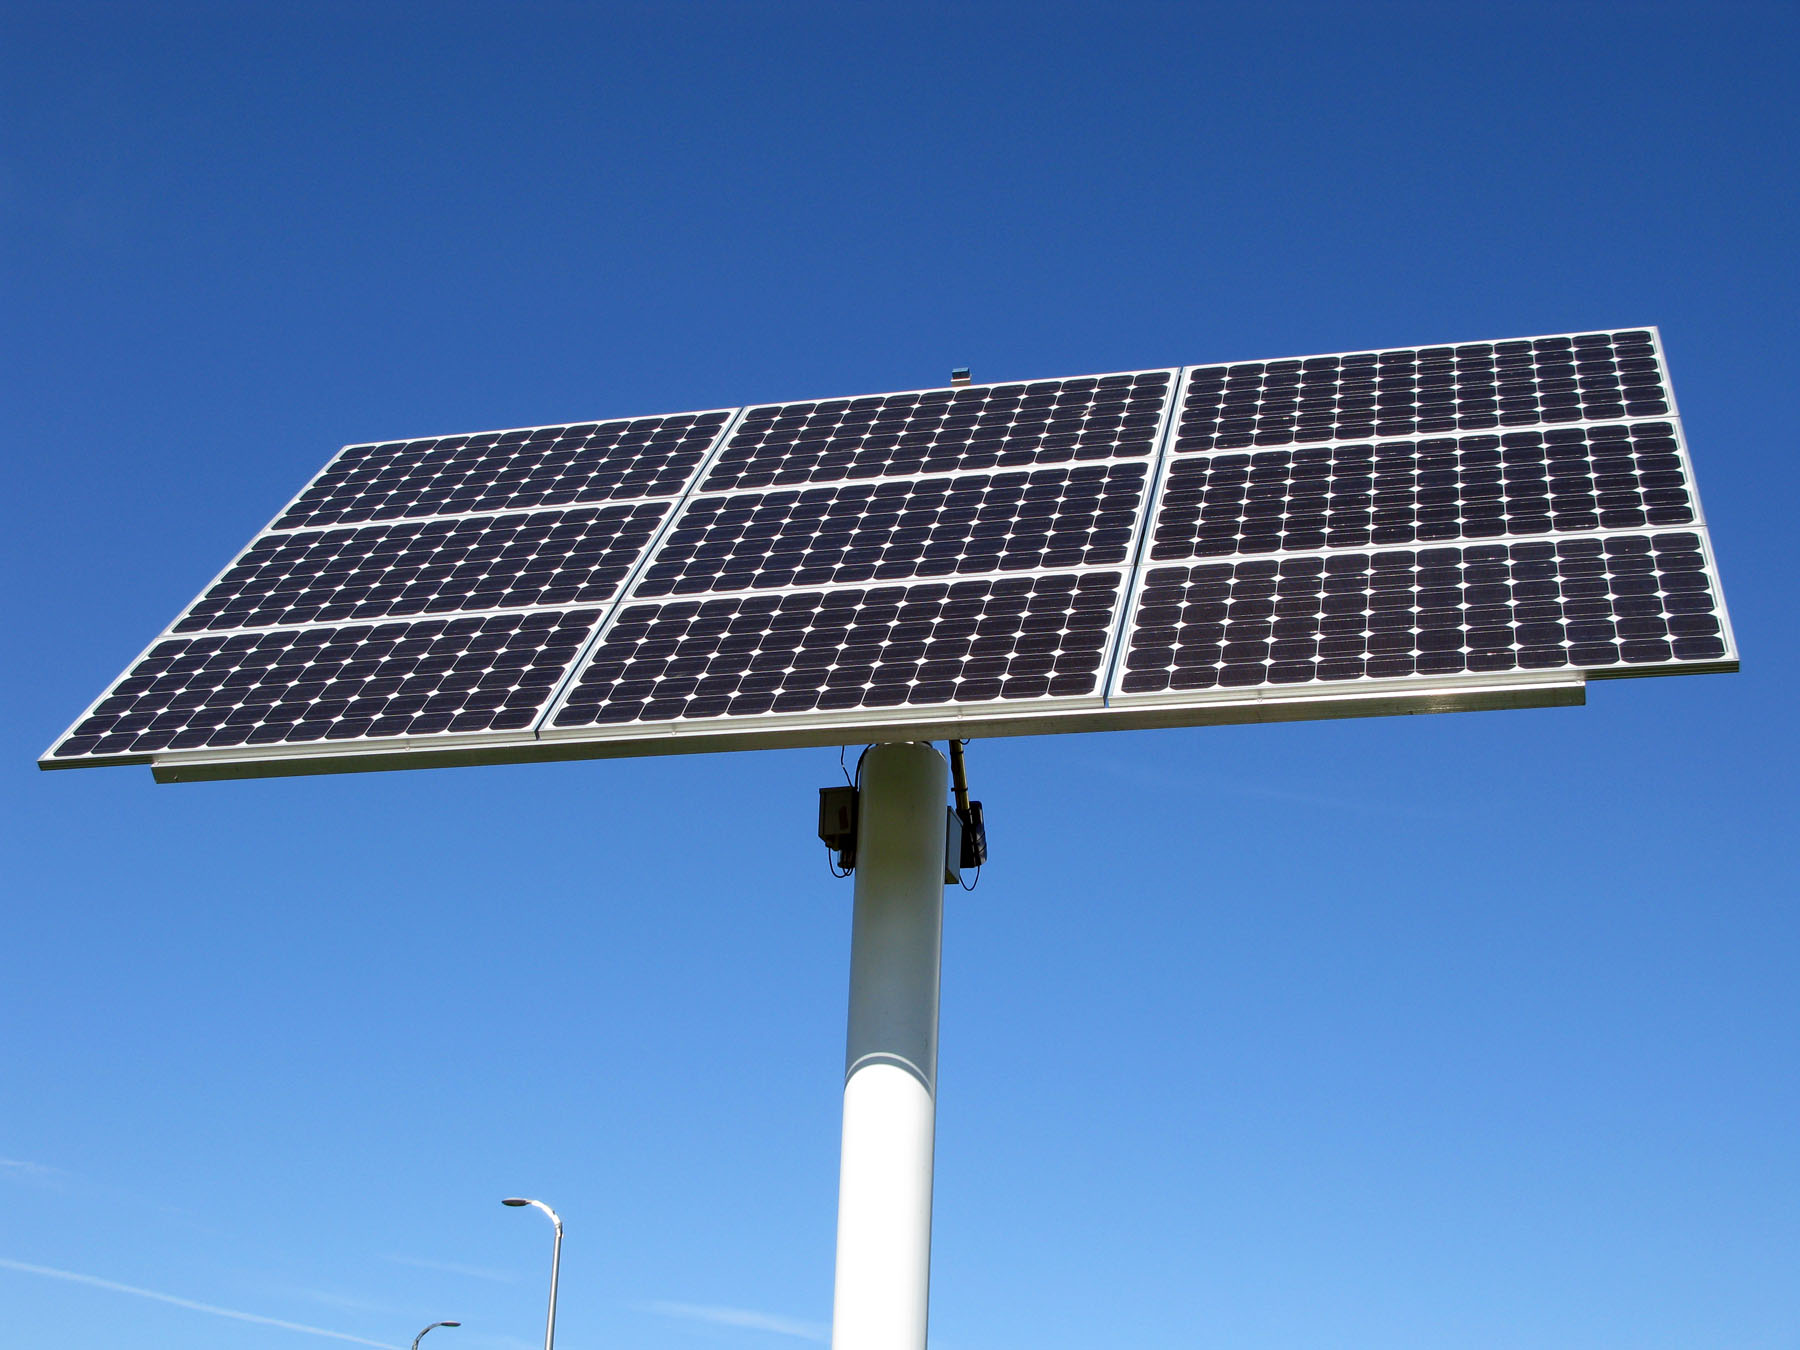
Solar Panel Mounting Where to Mount and Degree of Pitch When mounting your solar panels, you want to ensure they are exposed to the most direct rays of the sun throughout the day. If you have a fixed mount, position the panels in a non-shaded area. To determine the angle in which the panels should be mounted to best capture the sun, perform the following: 1) in the Northern Hemisphere, the panels should be mounted to face due south. In the Southern Hemisphere, the panel should be mounted to face due north. 2) Determine your latitude above or below the equator, then design the mounting brackets so they are tilted upward (from straight flat) the same number of degrees that you are north or south of the equator. Mounted like this, the panels will be pointed directly at the sun at noon, on the first day of spring and the first day of fall. Since the earth is tilted 23 degrees, the most direct rays of the sun will then be offset from the panels by as much as 23 degrees on the first day of winter and the first day of summer. For a fixed installation, this is as good as it gets. I know this all sounds complicated, but since most of the people in the world live in the mid-latitude regions, and most roofs are pitched down (from straight flat) between 25 and 45 degrees, this is easier than you think, Mounting Racks Once you have determined where the panels are to be mounted and the degree of pitch, you then need to look at the installation manual for your panels for specific mounting requirements. Without knowing those specific requirements, I can only make some generalizations about building the racks and mounting the panels: 1) Perforated Angle Iron makes a good material to build racks. It’s strong, lightweight and relatively inexpensive. You can cut it easily with a saws-all and use small pieces for angle bracing. Ensure it is coated or painted to resist rust before you install the solar panels. 2) If installing a rack on a roof, ensure the rack pieces in contact with the roof will not inhibit the runoff of ice and snow. Install the pieces in contact with the roof - up and down. 3) For the pieces in contact with the roof, use roofing felt or something similar under the rack pieces so you don’t damage the roof. Also seal everything well to prevent roof leaks. 4) Electrically bond the rack together, then ground in accord with the panel installation instructions and NEC requirements. Installing the Panels to the Racks Before the panels are bolted down to the racks, it will probably be necessary to do some wiring. This is because the wiring is typically located on the underside of the solar panels. Remember, the photovoltaic panels will start generating electricity as soon as they are exposed to sunlight. If you are not competent with working with electricity, and requirements for wiring, calling an electrician at this time would be a good idea. Some manufacturer’s require the panels to be directly bolted to the frame, while others require the use of clips to bolt down the PV panels. Consult your installation literature. |
|
|
||||||||||||||||||||||||||||||||
|
Battery Installation Batteries should be installed in a location where: accidental shorting of the terminals will not occur, hydrogen gas can be vented to the outside from the top of the enclosure and where they will not be dislodged. The enclosure should also be weatherproof. There are specific National Electric Code requirements for a battery disconnect switch, conductor size and type and overcurrent circuit protection. Consult an Electrician that is familiar with these requirements. |
|
Installation of Other Components and Wiring My best advice here is that there are an infinite number of ways of doing it incorrectly. If you need assistance, please obtain the services of a Licensed Electrician. |


